Alarm build log

RSS

Follow along as I build, test, and develop my own DIY alarm system using Arduino and Raspberry Pi.

For longer write-ups about the system, see the post series.

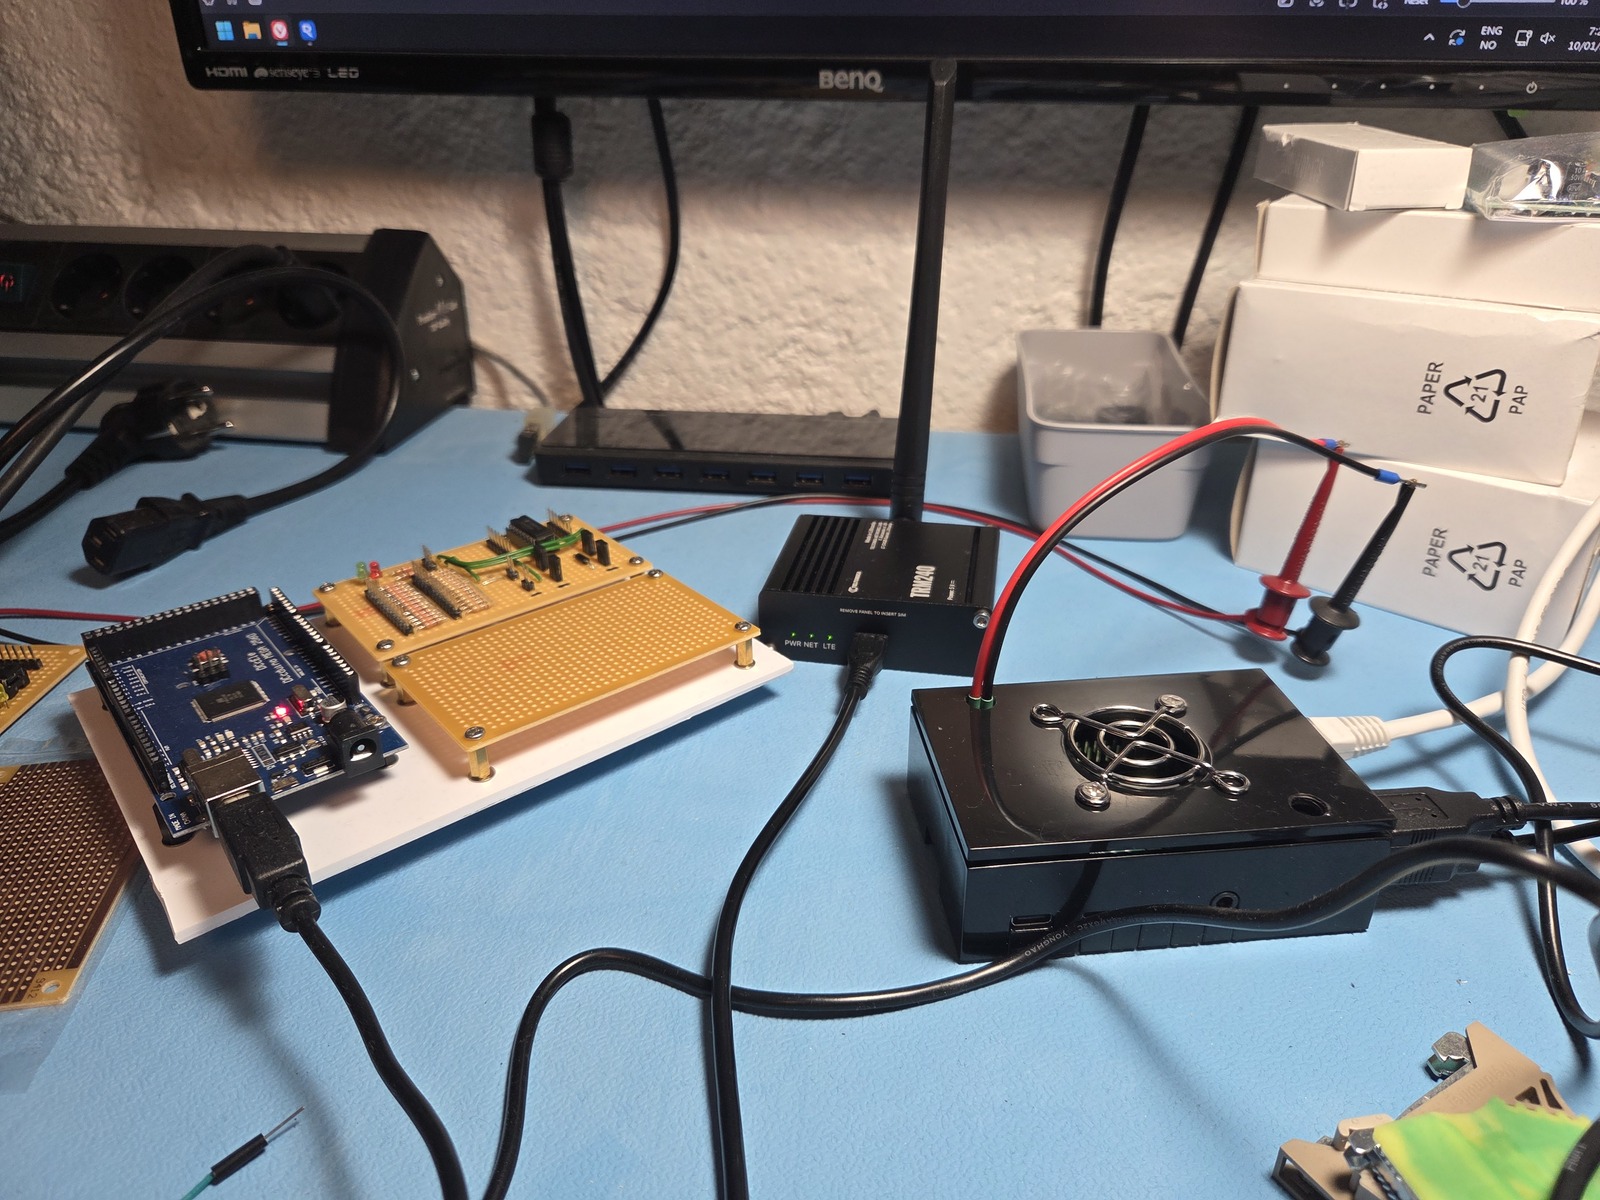
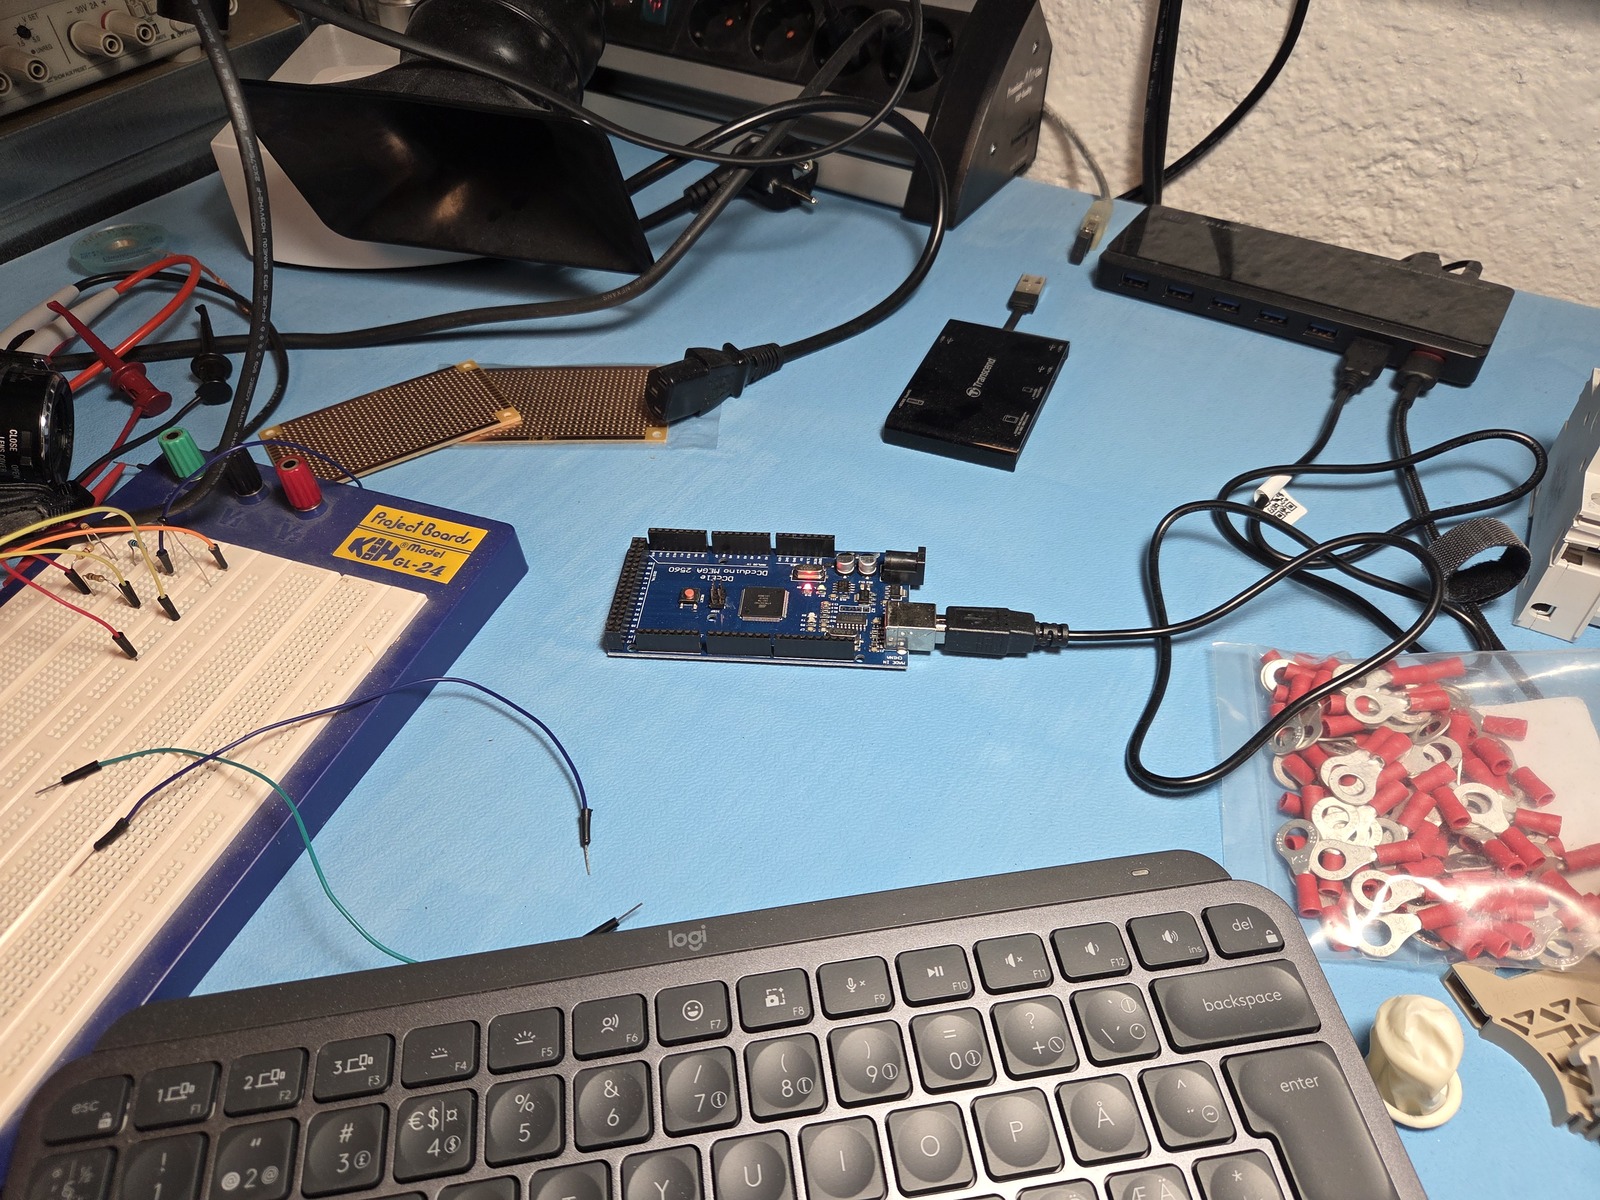
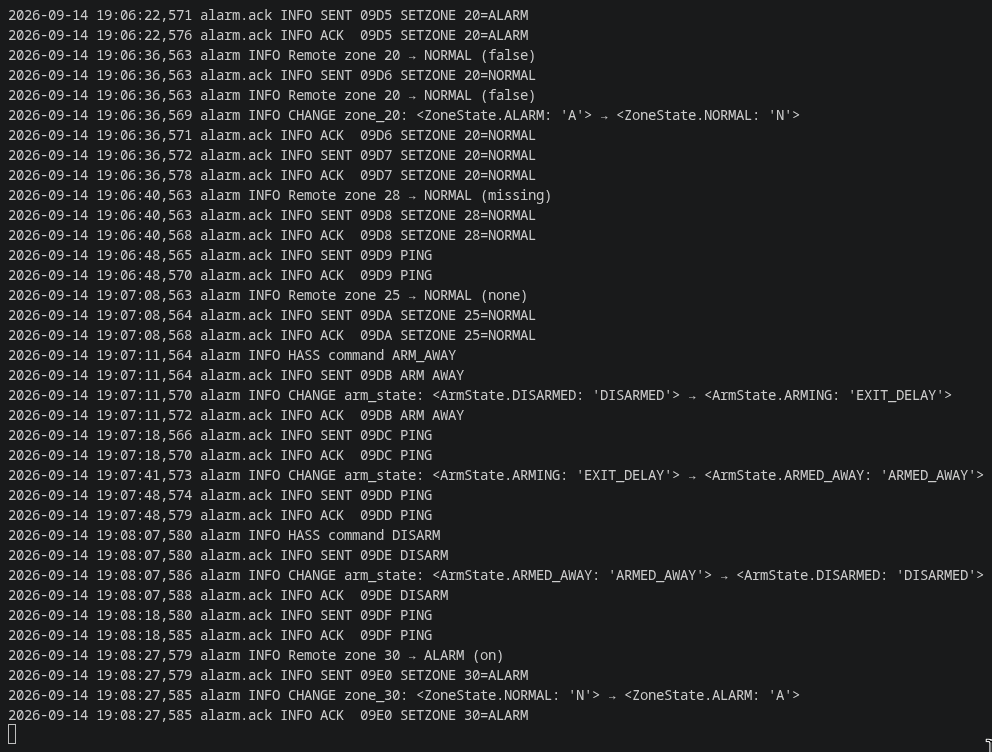
More progress: the #RaspberryPi is now running the bridge software and communicating with the #Arduino Mega. The SD filesystem is read-only to prevent burnout and corruption in case of an unscheduled shutdown.

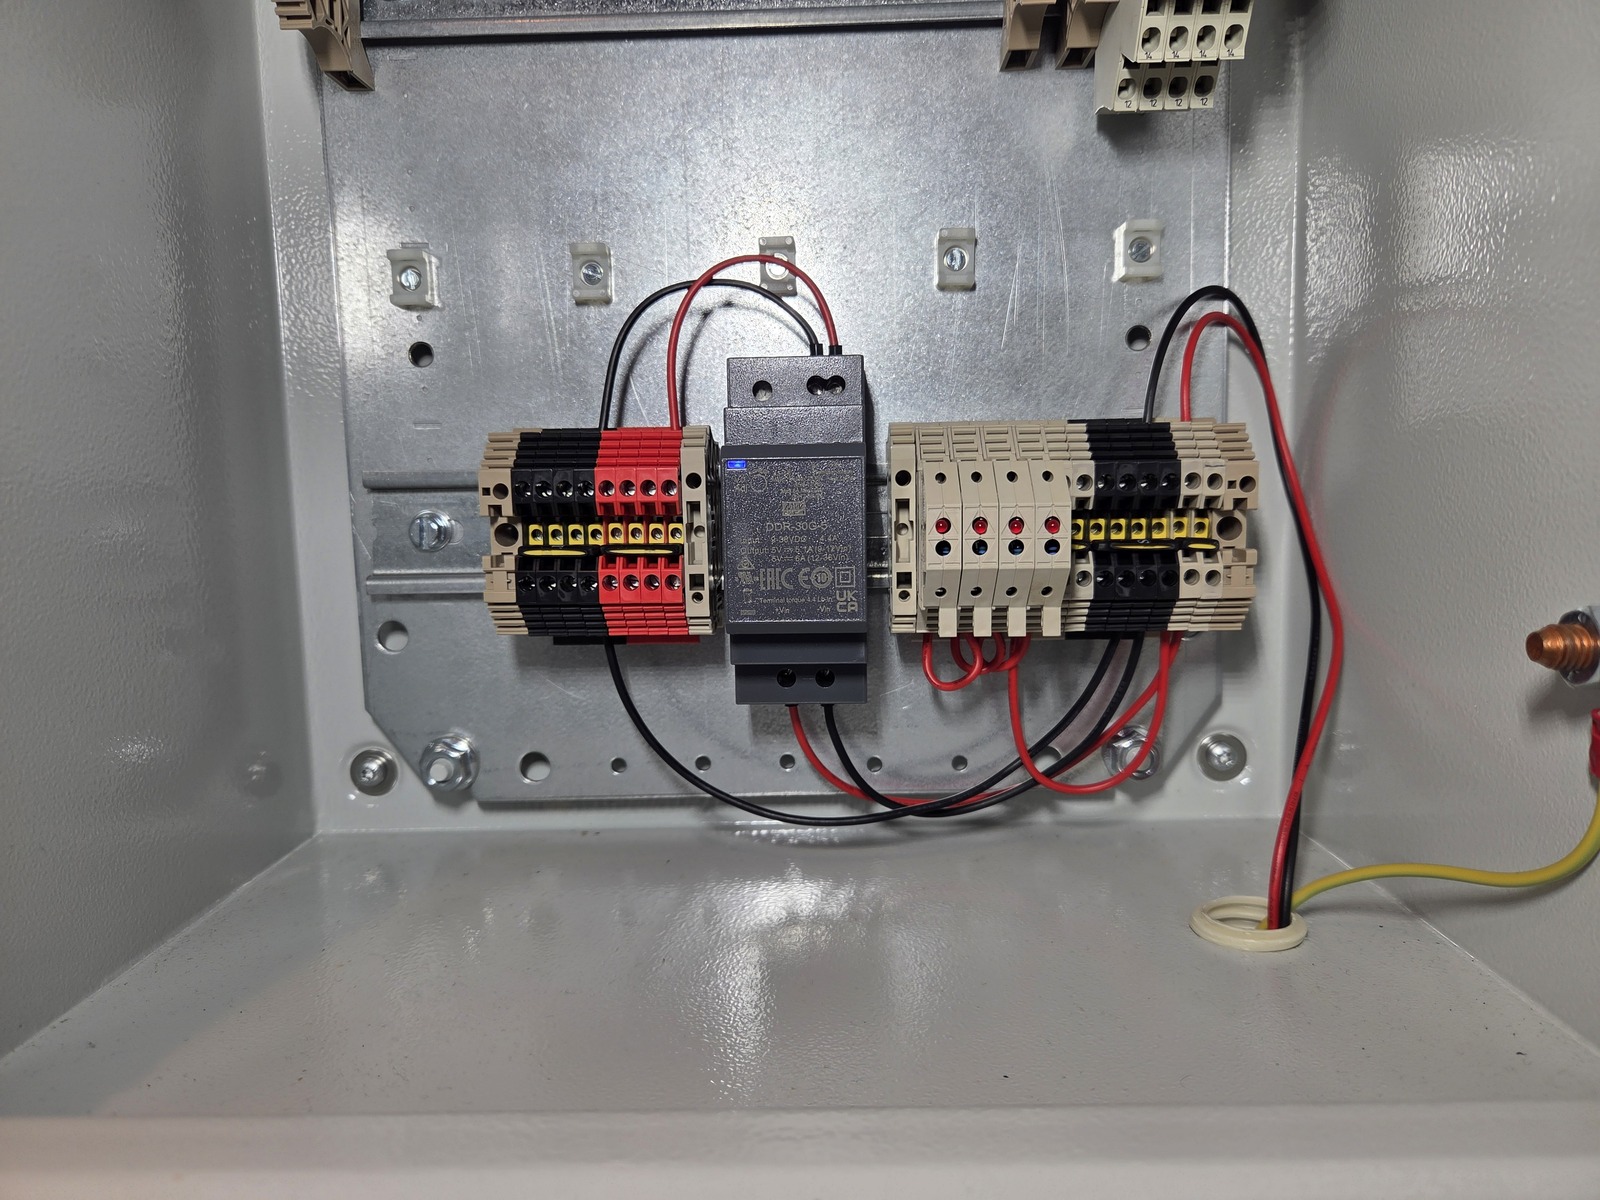
The Arduino, Raspberry Pi, and Teltonika TRM240 modem are drawing 660 mA at 5.11 V. The alarm cabinet now has 13.8 V with battery backup and 5 V from a DC/DC converter.

Next is to install this in the cabinet πŸ˜€

Permalink β†’

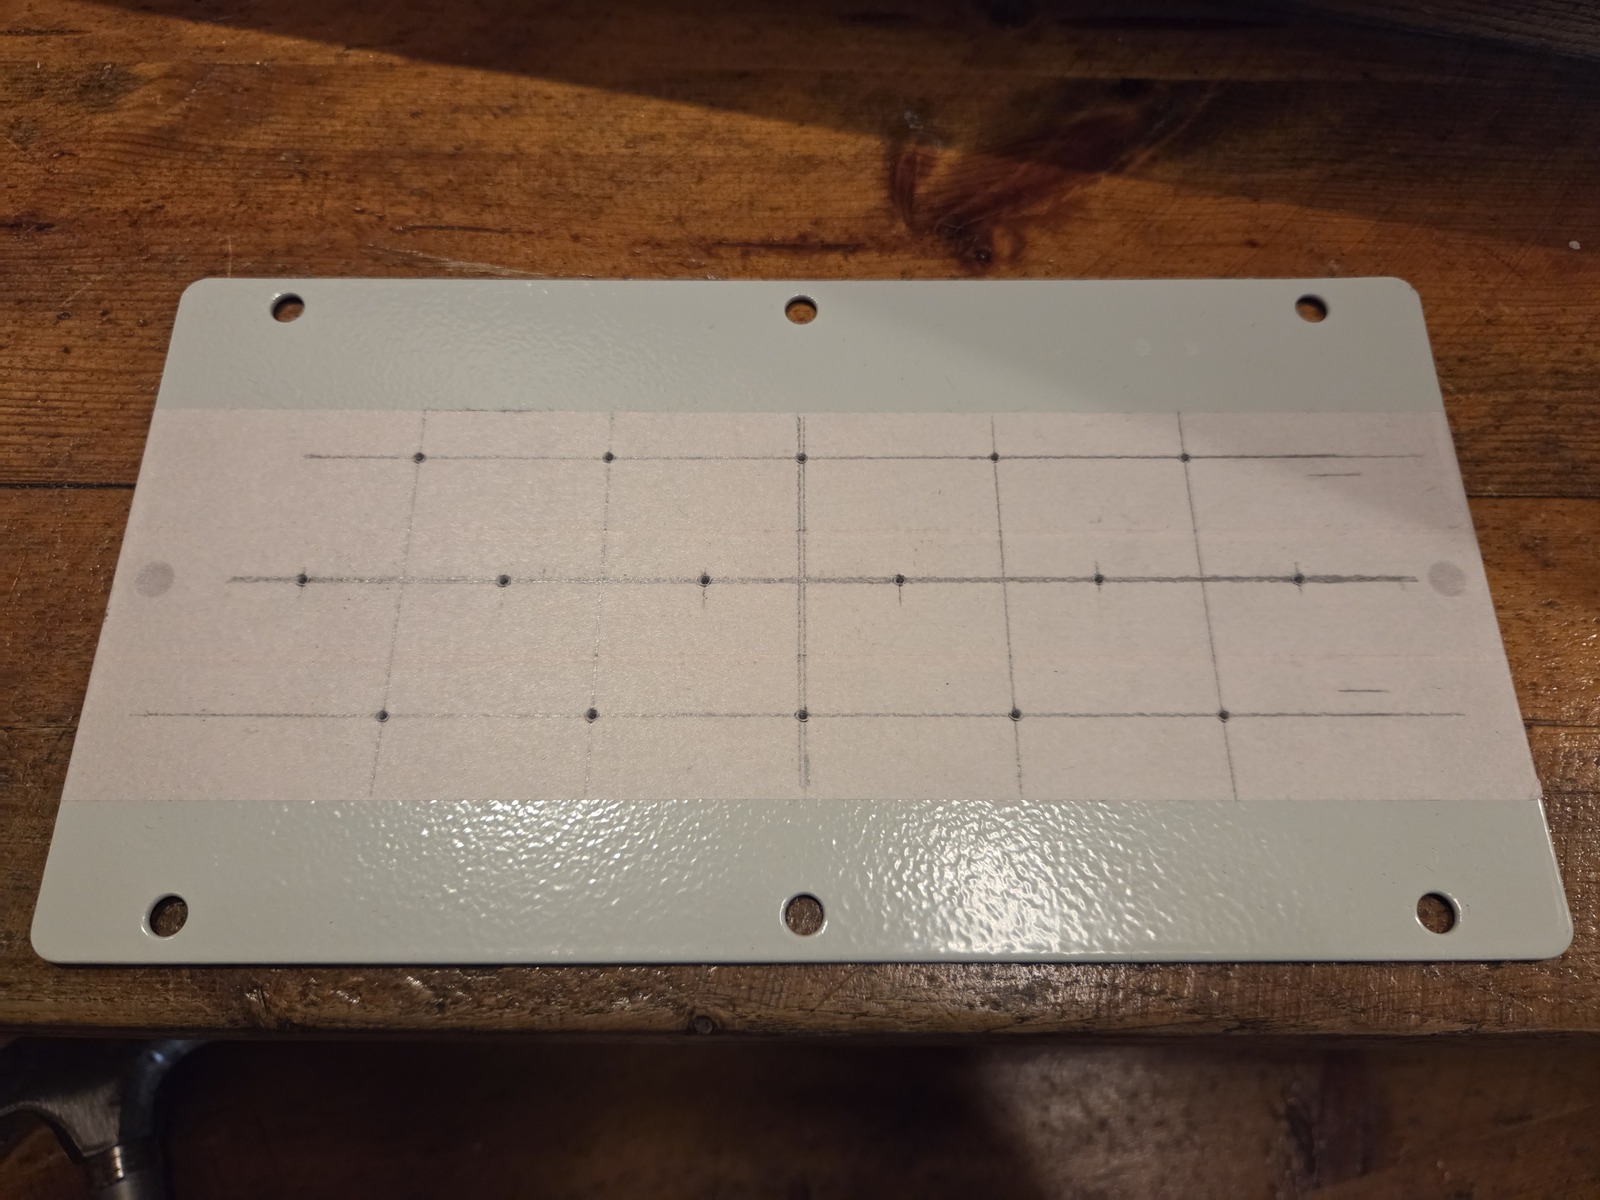
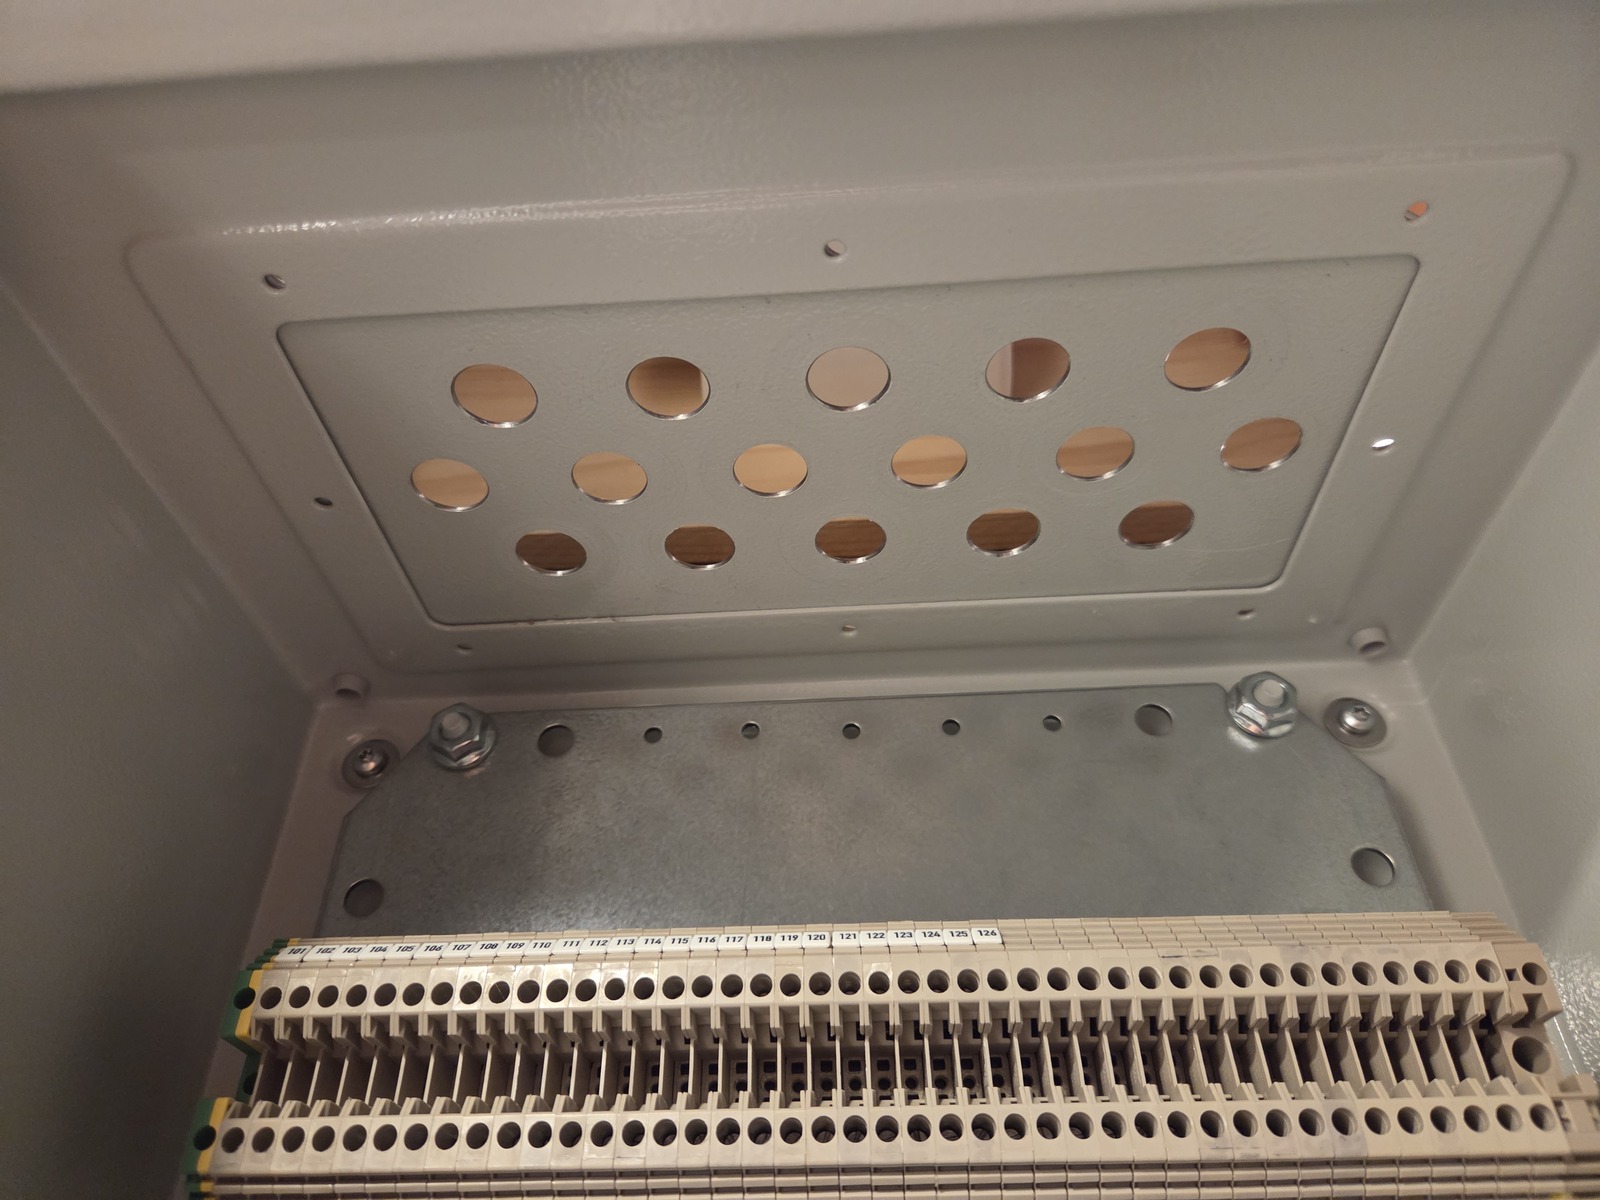
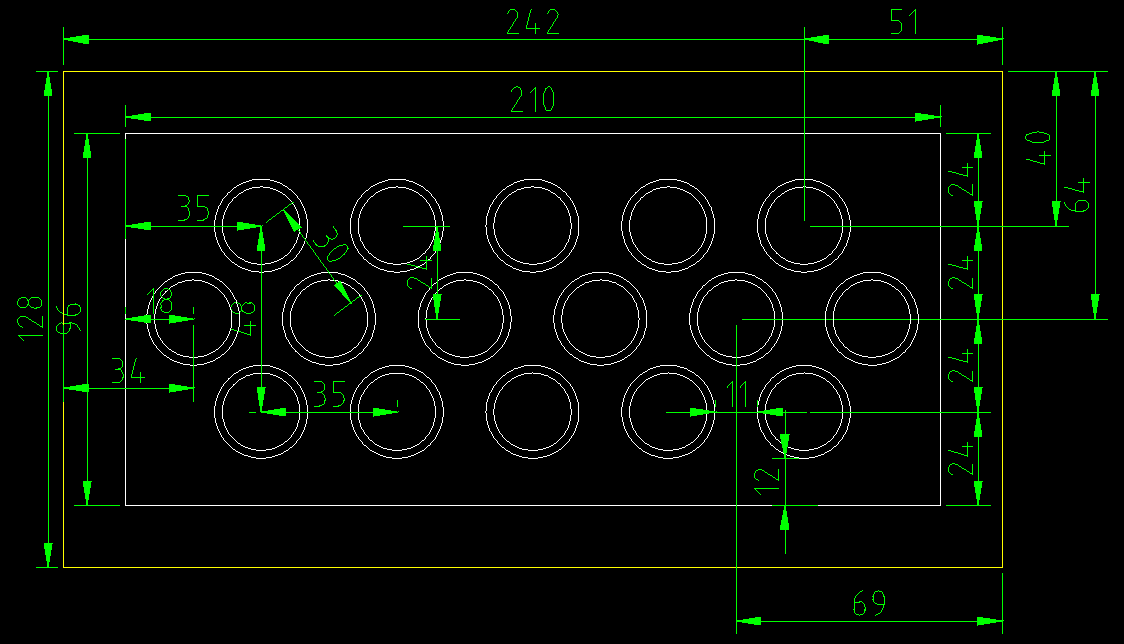
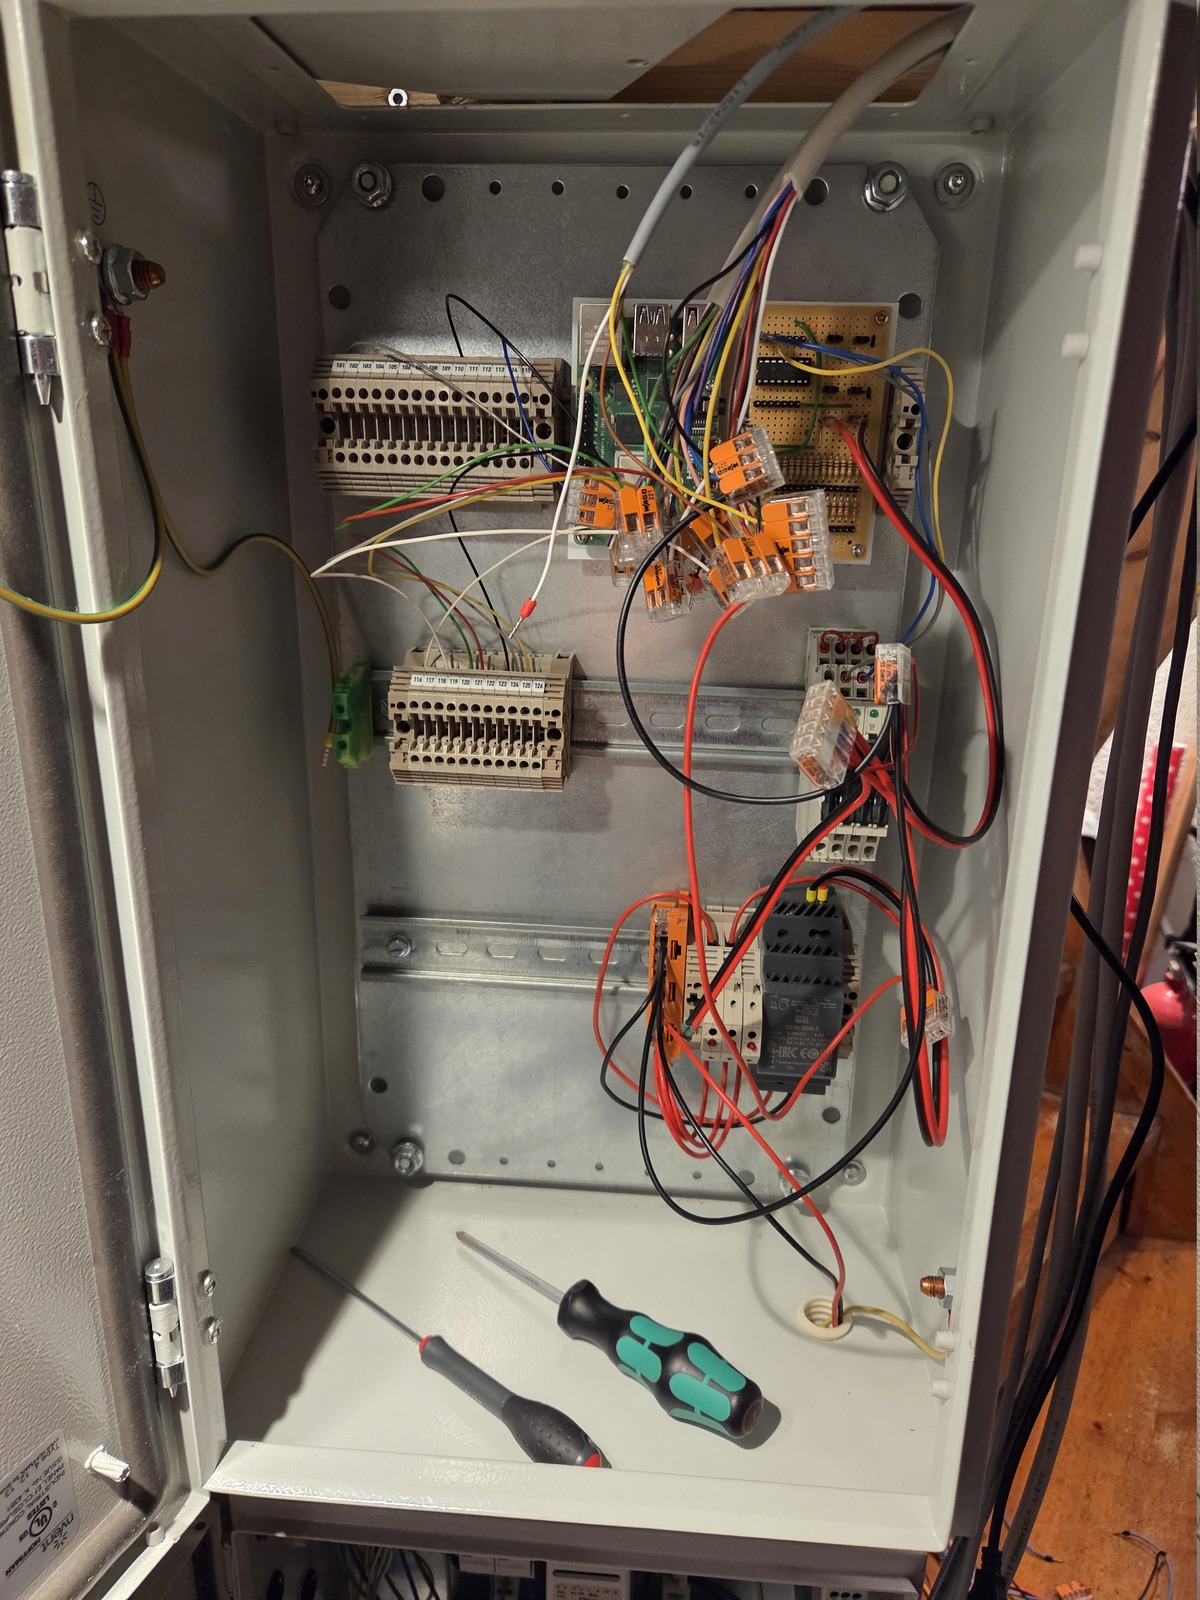
Progress continues. I’ve drilled 16 Γ— 16 mm holes in the top gland plate. Rubber grommets will seal the ones I don’t use.

This plate has never been properly mounted; the cables used to just “hang” into the cabinet.

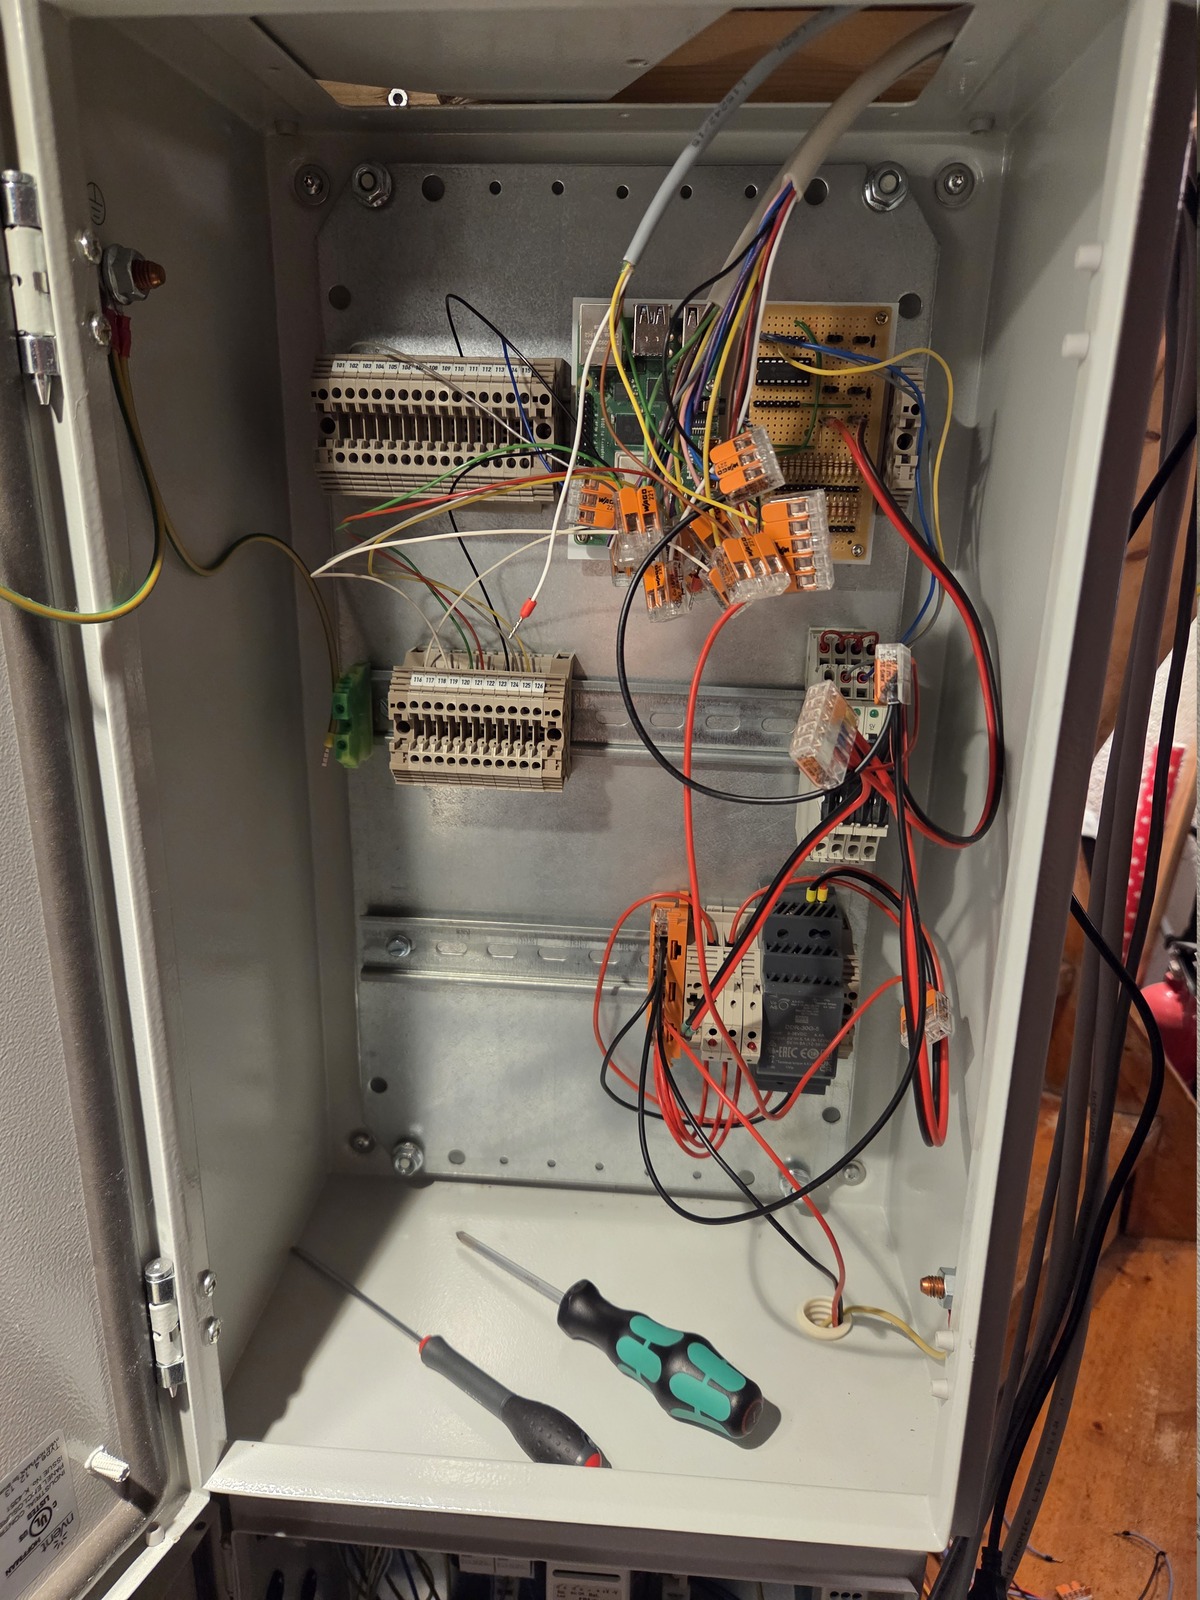
Next is to get network and power up so the #RaspberryPi can be booted up. Then mount the #Arduino Mega and wire up some outputs.

I’m using the previous I/O board with 7 outputs. New boards will have 16 zones, 8 inputs, and 21 outputs.

Permalink β†’

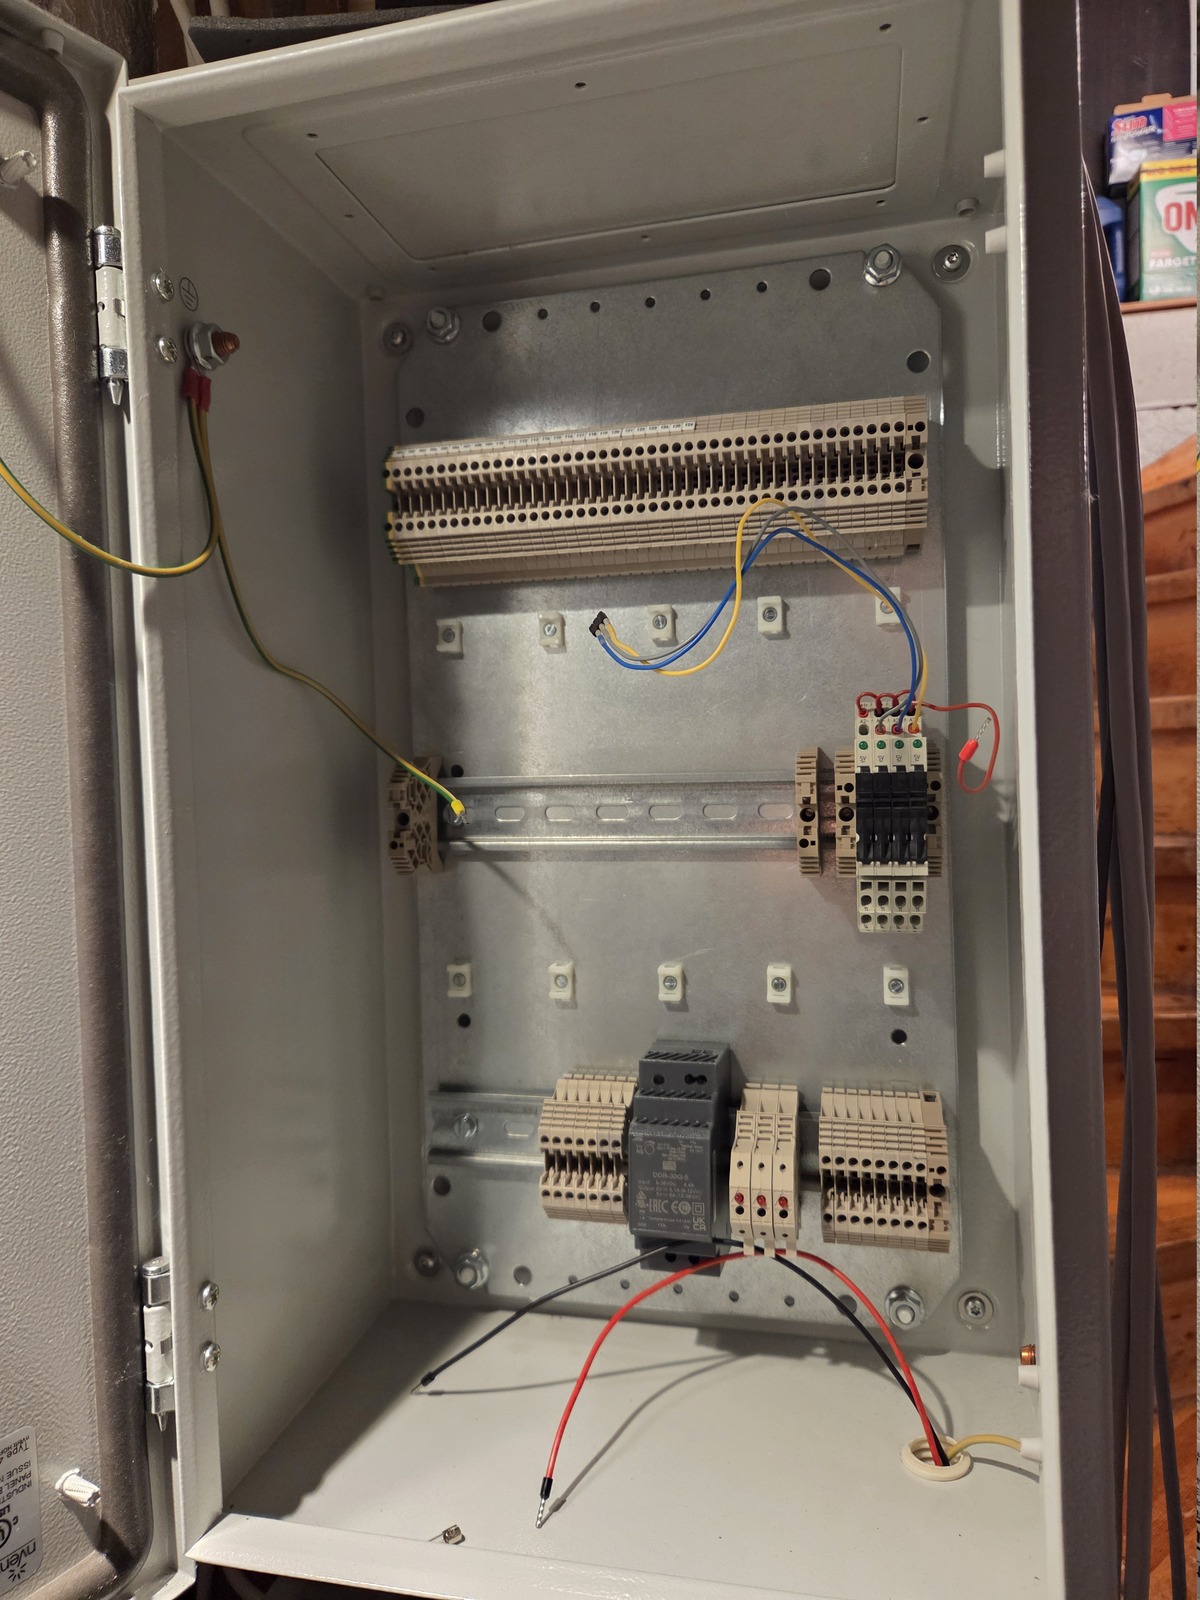
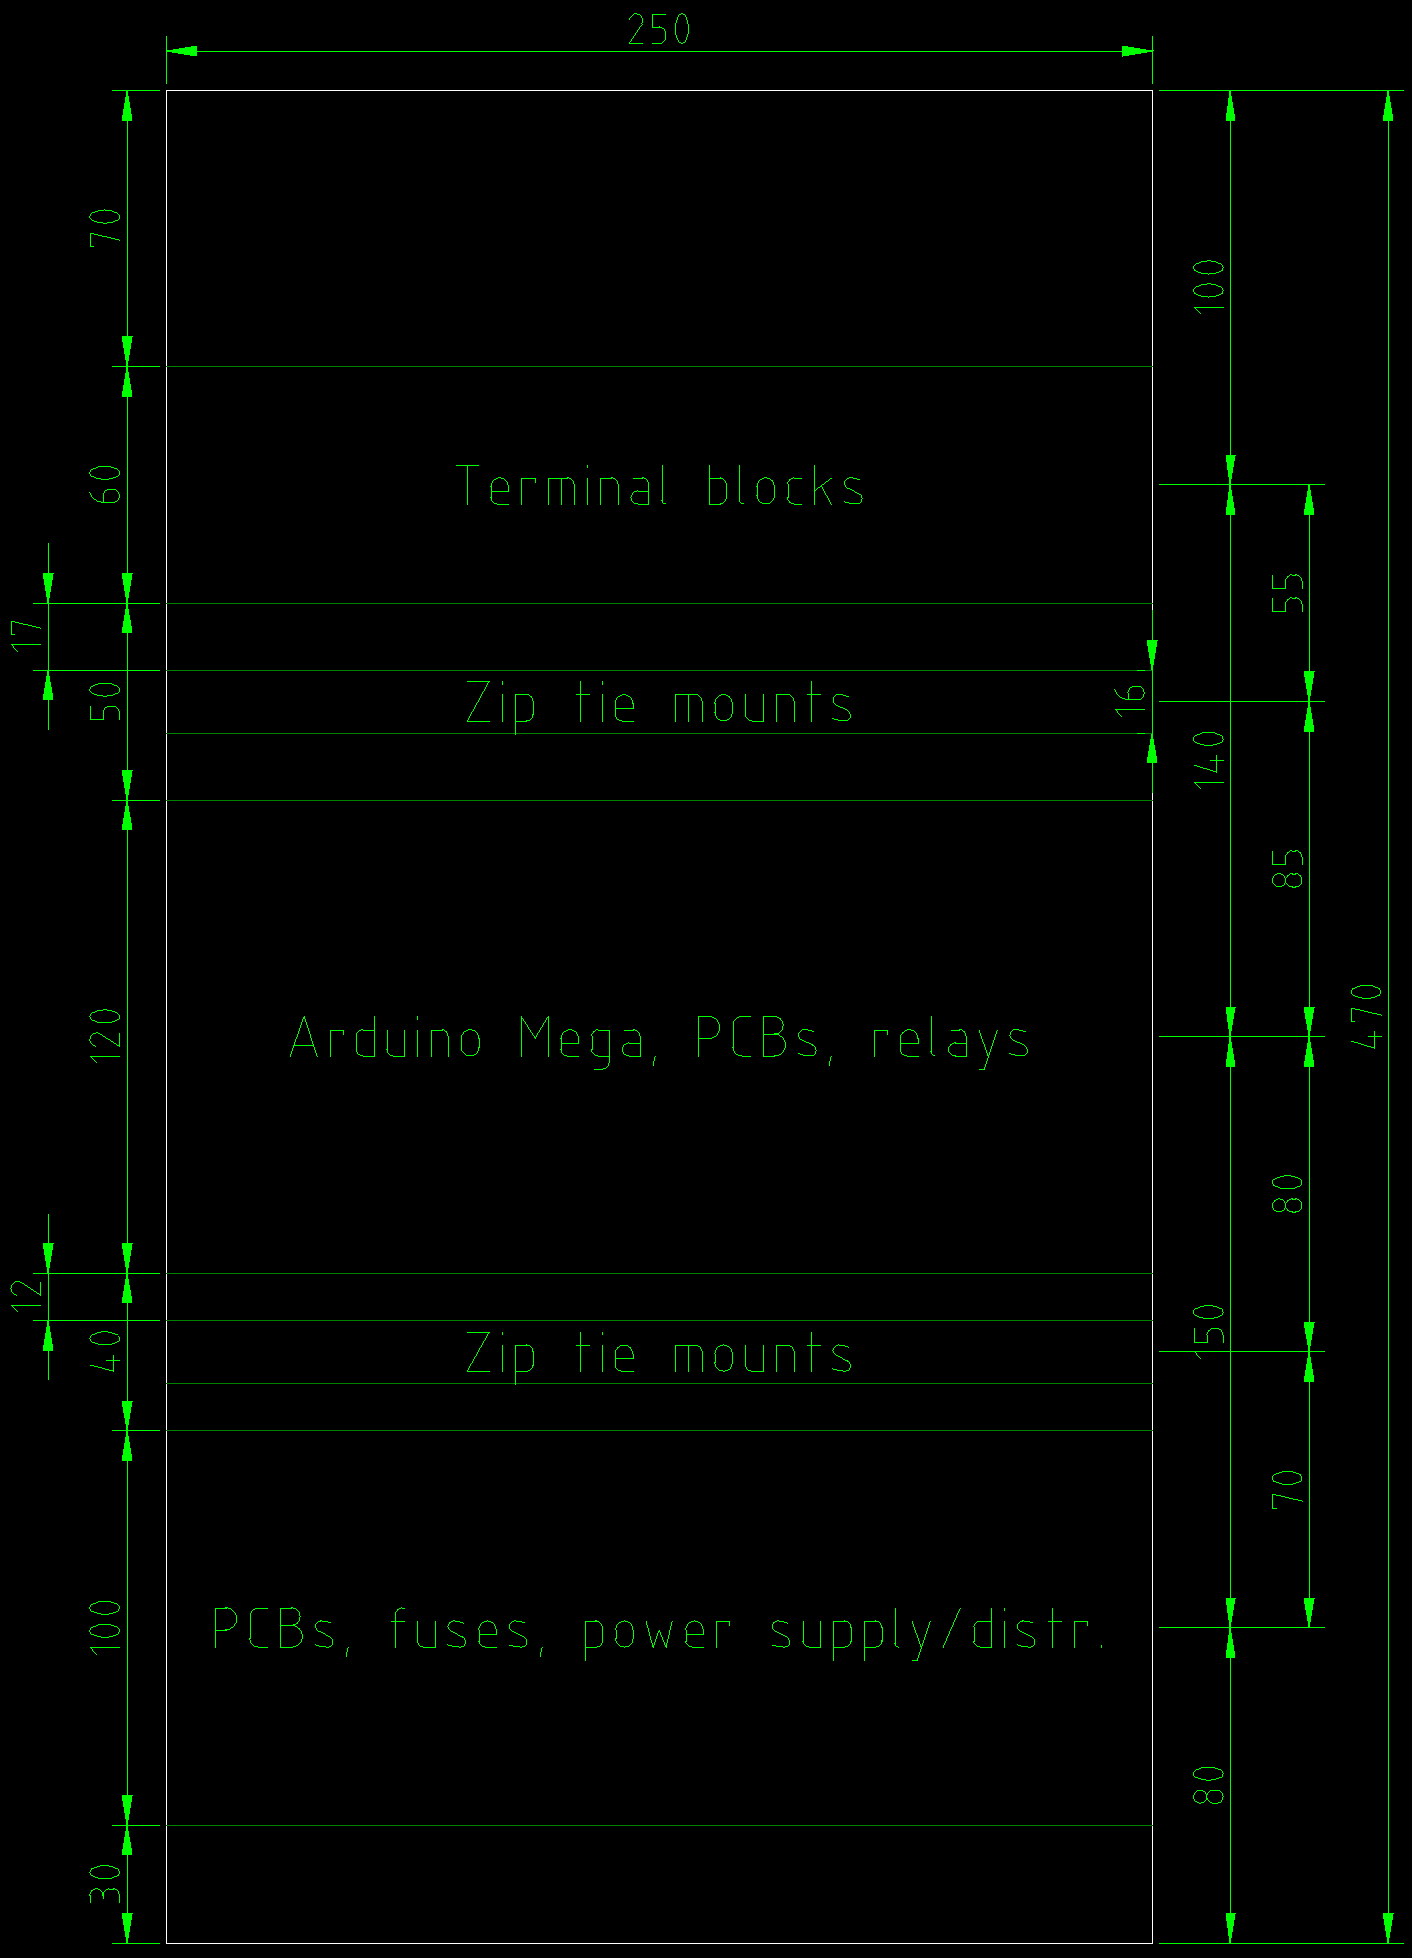
DIN rails have been moved to better accommodate the new setup. Previously, there was lots of space at the bottom for the battery, but it has now been moved into a dedicated cabinet. There are lots of terminal blocks at the top for incoming cables.

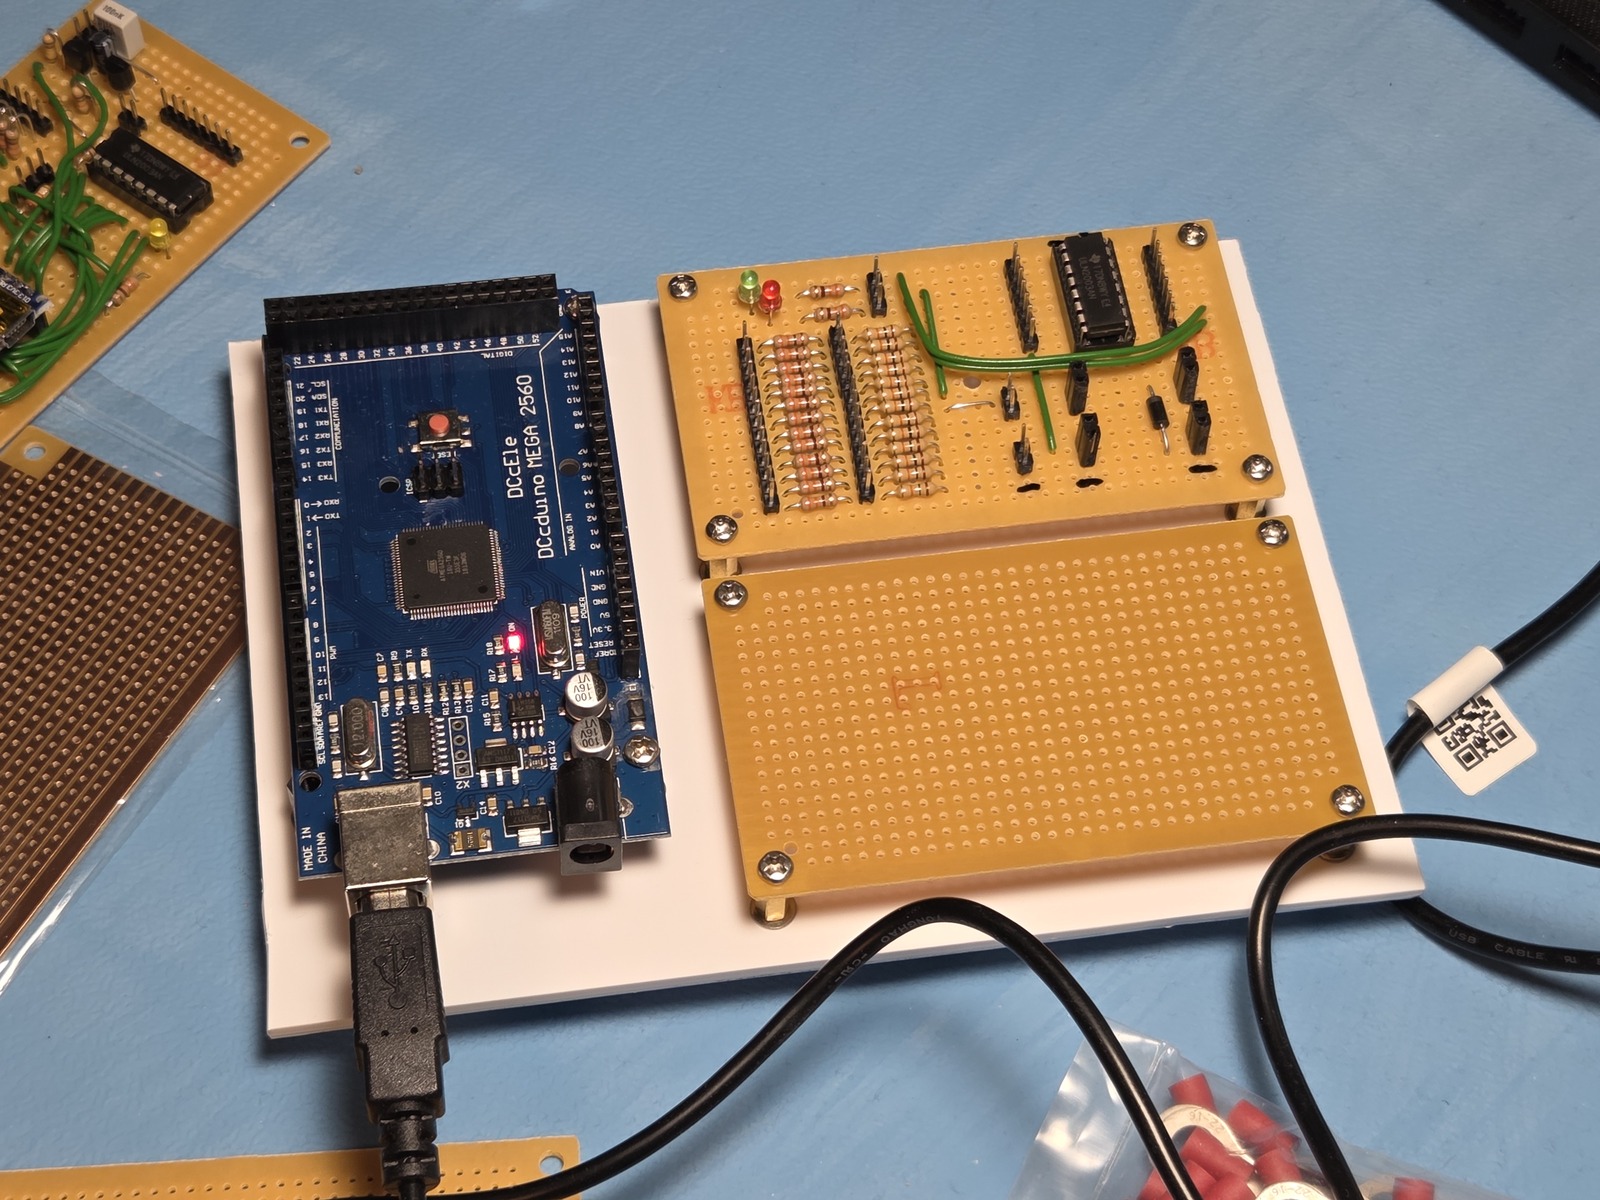
I made a simple DIN-mountable PCB holder out of a 3.2 mm sheet of polystyrene for the #Arduino and I/O boards. I’m reusing the old board for testing.

Permalink β†’

Out with the old, to make room for the new. The firmware for the #Arduino Mega has reached a point where it’s time to give it a try. The last piece was the ability to store user PIN and RFID tags.

The system is currently operational, but only with wireless sensors and no outputs. Time to wire up some outputs and do a proper test β€” and figure out an optimal placement for the new cabinet content.

Permalink β†’

OK, so my scope may have exploded a bit. I am now working on:

  • Zone/output types and attributes
  • Zone expander (RS485) support (Arduino Nano)
  • RS232 coms with power monitor (Arduino Nano)
  • Alarm types: fault, tamper, water, intruder, panic, fire (with escalation)
  • Ready LED with multiple flash patterns
  • Many other things…

Using 21% RAM and 6.2% flash on the Arduino Mega.

Source here: https://forge.cavelab.dev/diy-alarm/core

Permalink β†’

For about 10 days, while I’ve been distracted by fun implementations on my website, this #Arduino Mega board has been running the new alarm code. Constantly communicating with the Python application that will run on the #RaspberryPi β€” receiving 16 #Zigbee zones and responding accordingly. Not a single communication or checksum error has been logged.

I’d say this is a pretty good start πŸ˜€ Time to start building some IO interface boards…

Permalink β†’

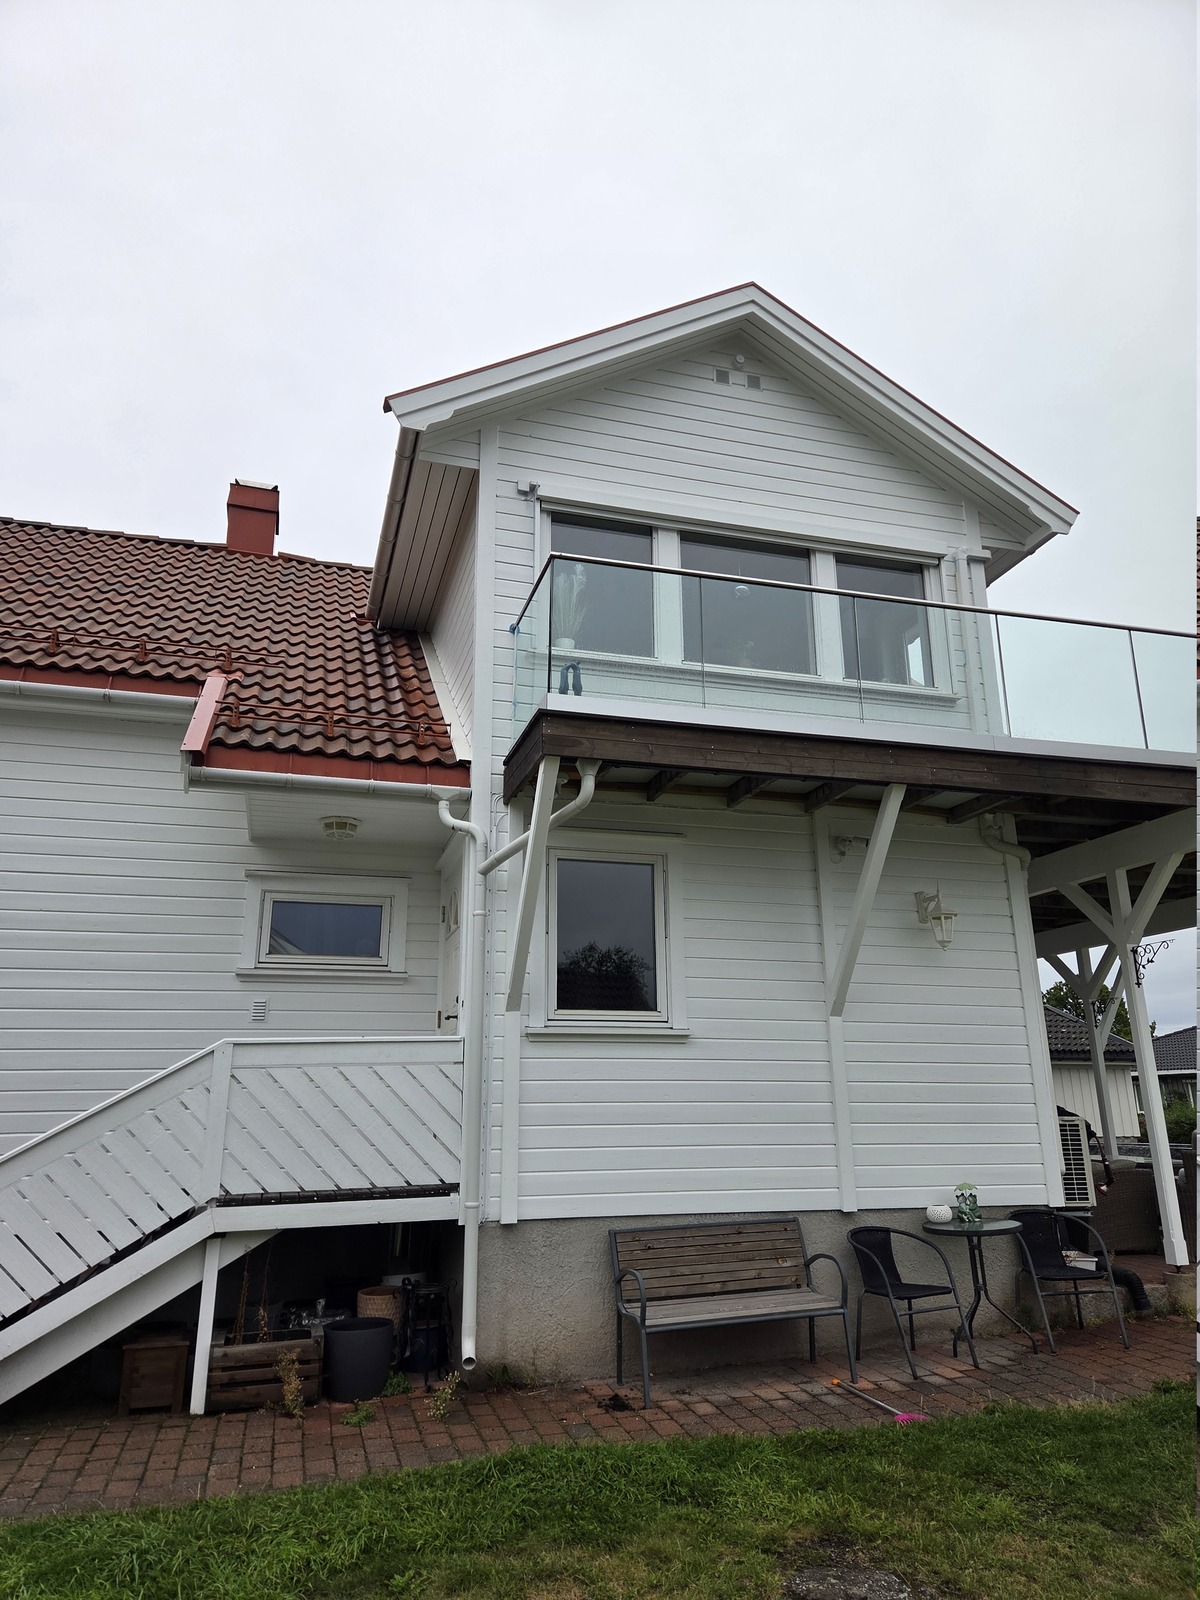
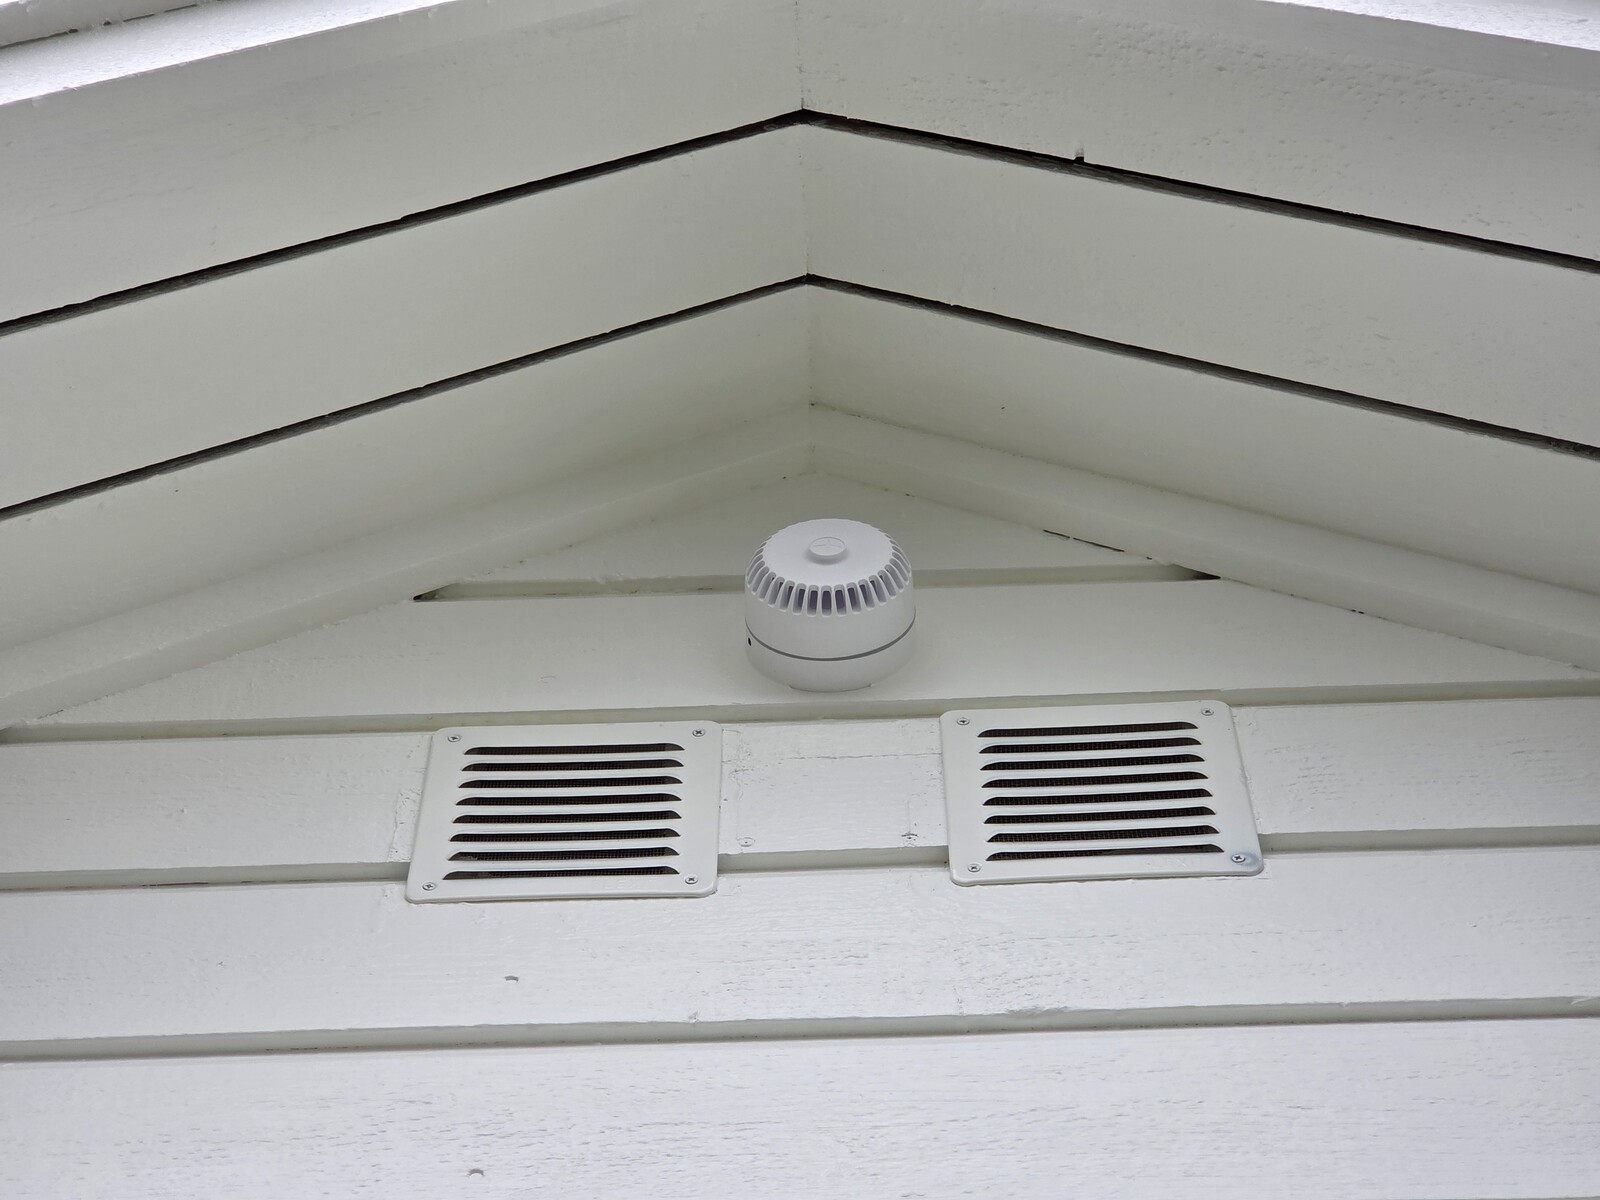
We rented a boom lift recently, to paint part of the house. I used the opportunity to mount an outdoor siren.

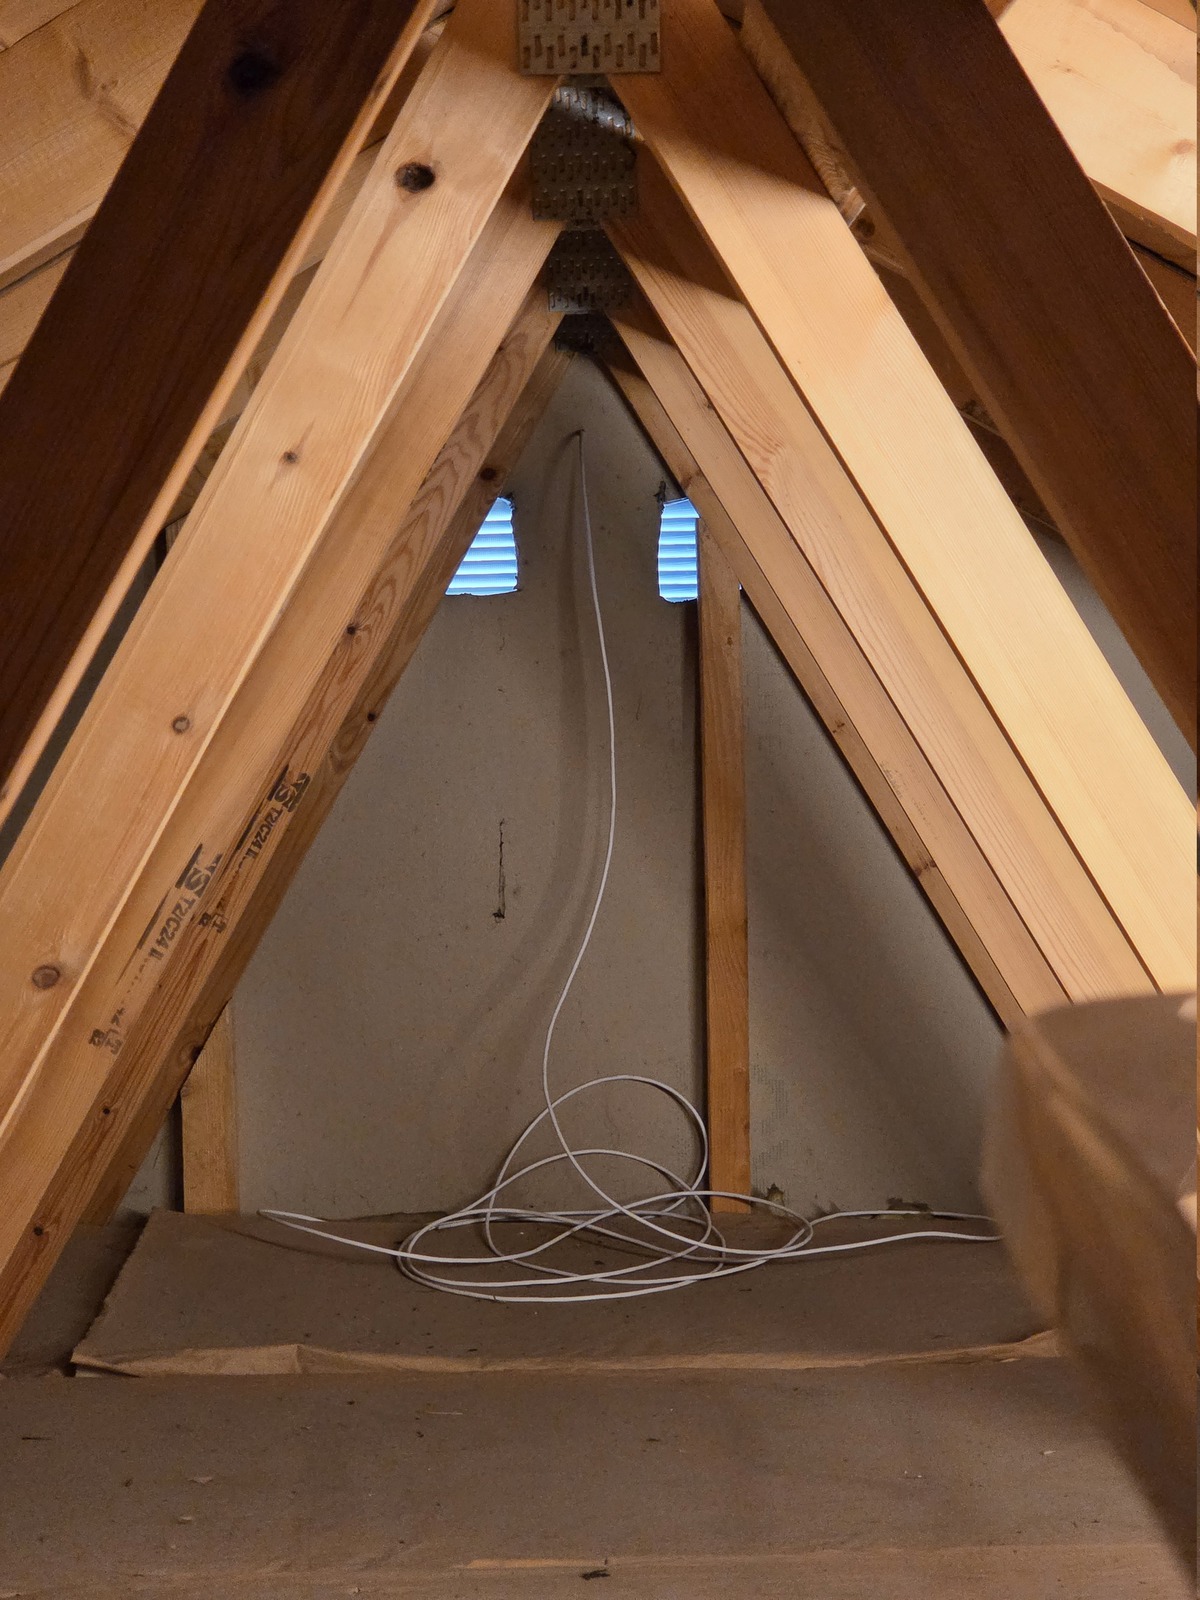
Now all I need is a control cable from the alarm cabinet to the attic, and I can get this thing wired up.

To prevent annoying the neighbours too much β€” this thing will only go off if there is a manually triggered panic alarm, or intrusion with more than one zone in alarm.

Permalink β†’